Word Templates
Adobe RoboHelp 2022 introduces Word templates to make Word document production more controlled and to make it easy to get the same styling across documents in multiple projects on multiple machines.
 It is important not to confuse these templates created within Adobe RoboHelp with Word Templates created in Microsoft Word.
How to Setup a Template
The start point is to go to the Output Tab and create a Word Template by clicking the + icon or selecting one of the supplied templates.
With each of the groups expanded as above, you will see the available Page Layouts, Stylesheets and Resources. If the configuration options on the right are not already displayed, double click Settings to see to configure the template
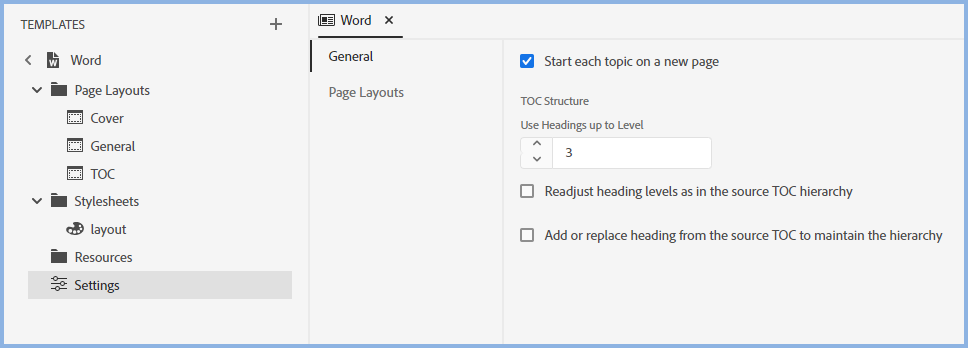
With all the configuration options now shown, let's look at the various groups.
Page Layouts
Page layouts show both on the left and on the right as shown above. On the left are the layouts for editing, on the right the layouts are selected for the various parts of your Word document. In this section the supplied layouts are described.
You can edit the supplied page layouts or you can create your own.
The Supplied Page Layouts
This table describes the supplied template page layouts.
|
Cover |
The supplied page layout provides a sample cover for both the front and back pages. You can create your own if you require different covers. |
|
General |
If the same layout is required in multiple sections, a name such as "General" makes this easier. |
|
TOC |
If your Book TOC includes a TOC in Front Matter, the TOC layout includes the project name in the header. |
With any page layout opened in the editor, it can be styled using the Content Properties.
Cover and Back Page
You can create your cover page using a page layout. By default each page layout has three divs applied to it, header, content and footer. In most cases these divs will give the required output for any layout including cover pages.
In a few scenarios a different configuration may be required. Try using Insert HTML Elements on the top toolbar and creating positioned divs instead of the default divs, they can be removed in Source View.
Positioned divs will appear top right by default. Go to Content Properties > Layout to size and position the div as required.
In projects upgraded Adobe RoboHelp 2019 New UI or from Adobe RoboHelp 2020, cover and back pages will be removed from the TOC and added to the template.
Re-using the Supplied Page Layouts
In the Same Project
From the menu for the page layout, select Show in Explorer. In Explorer copy the page layout to the required template.
In another 2022 Project
Page Layouts alone cannot be exported to another project as that would not take any resources or stylesheets required by that layout. Instead export the whole template and import it into the other project, then follow the steps above to copy the page layout between templates. To import the template, click the + icon to see the Import option.
Creating Your Own Page Layouts
Hover over the Page Layout heading and click the menu icon to add a new page layout.

You then edit it in the normal way.
Styles
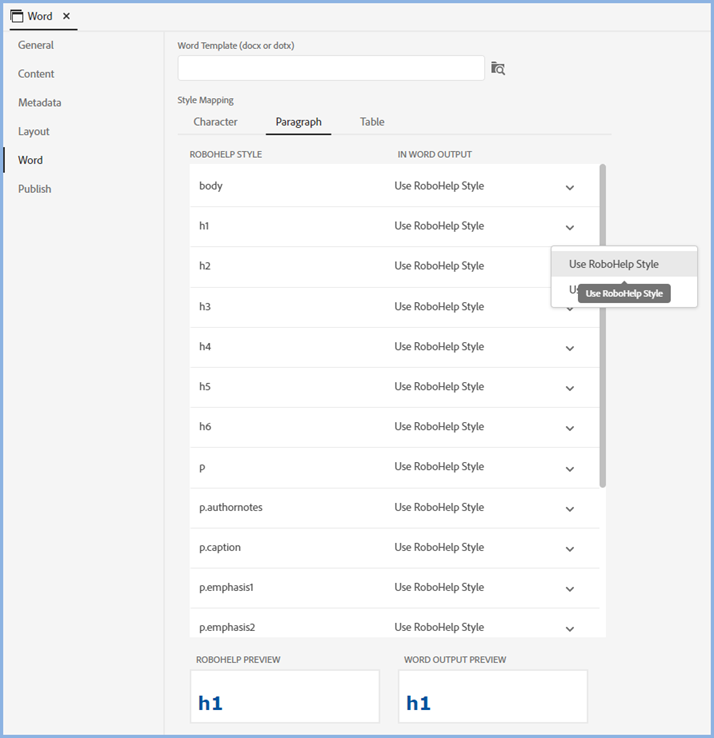
The appearance of the Word document is controlled by the CSS files in the topics and the CSS files in the template. The easiest way to explain how the various options affect the appearance of the document is to first look at the Word option in the preset and what you define there.
Rule 1
- If you do not define a Word template here, then you will have two options when you click the dropdown, Use RoboHelp Style or Use Word Default. If you choose Use RoboHelp Style, what you see will depend on the CSS files used and whether or not you select the Exclude All The Topic CSS Files Not Selected in the Layout settings.
- If you choose to exclude them, your choices in the dropdown will be to map to the RoboHelp styles or the Word default styles. The RoboHelp styles will be limited to those in the template CSS files. With more than one CSS file used in the template, cascading rules will apply based on the order in the Stylesheet section.
- If you choose not to exclude them, your choices in the dropdown will still be to map to the RoboHelp styles or the Word default styles but cascading will also include the topic CSS file(s). See Rule 2 for more information about how that works.
- If you do define a Word template here, it works exactly as above except the dropdown will include relevant styles to map to.
Rule 2
To explain this, it will be assumed that in the Word settings above, you have set all the styles to map to Use RoboHelp Style. The appearance is then controlled by the order of the CSS files and whether or not the Exclude all the Topic CSS Files is selected.
- If it is selected, then the cascading effect will apply to the styles defined by the CSS files used in the template. How the cascading works here is if a style is in more than one CSS file, the style will be a merge of the definitions in each with any given declaration being that set in the last CSS file looked at.
- If it is not selected, the cascading will include the topic CSS file(s).
Cascading
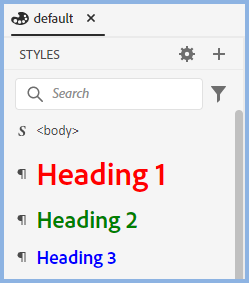
In this CSS, Heading 1 has been set to be red but in another everything is the same except the colour has been set to black.
Dependant on which CSS is last in the order, the color will be red if this CSS is last or black if the other CSS file is last.
The Order of the CSS Files
Template CSS Files
The CSS files in the Stylesheets section of the template will be applied first based on the order of the CSS files in the page layout source code.
Topic CSS Files
Then the generation process will look at the Exclude All The Topic CSS Files setting.
- If it is selected, then then only the CSS files in the Stylesheets section will apply as above
- If it is not selected, then the CSS file(s) used in the topics will be considered.
- If the same CSS is used in all topics, that will be the last CSS in the cascading order so any definiitons in the topic CSS file will override template CSS files.
- If multiple CSS files are applied in topics, they will be cascaded in the order they are found based on the topics position in the TOC used. Effectively this creates one super CSS file and the definitions in this super topic CSS will override template CSS files.
Resources
Shown here will be any assets that you use when creating the page layouts.
Settings
There are two parts to the Settings.
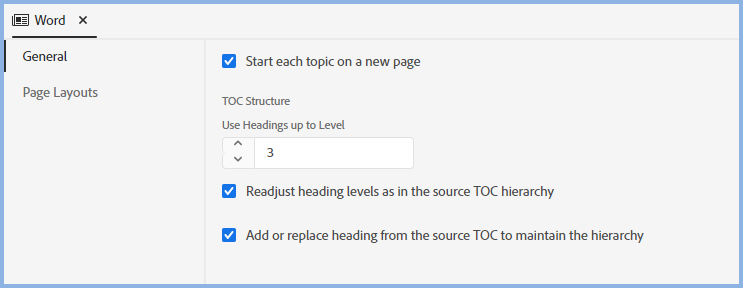
General
|
Always Start Chapter From |
Select the required option. |
|
Start Each Topic From A New Page |
Select if required. |
|
Use Headings Up To Level |
Set the level required. |
|
Readjust Heading Levels As Per The Source TOC Hierarchy |
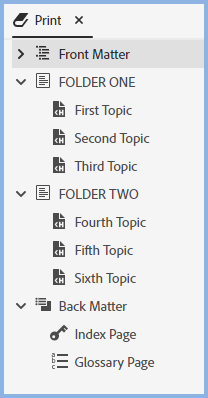
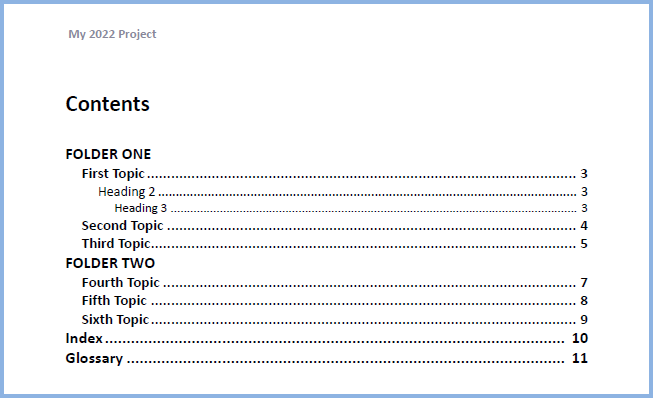
This and the next setting combine to define the appearance of your TOC in the PDF. Shown below are examples using this TOC. In this TOC Section One does not have a topic attached but Section Two does.
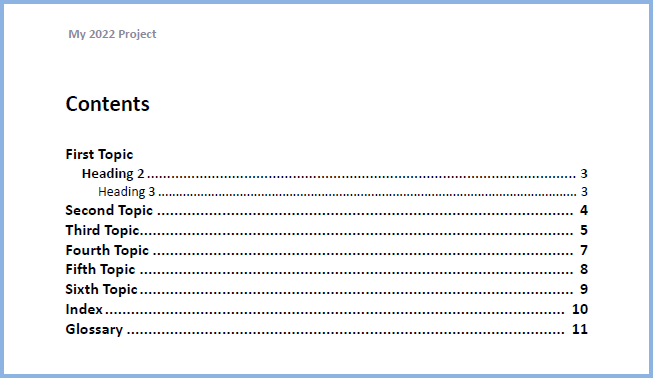
Neither Option SelectedThat will give just a straight list of the topics.
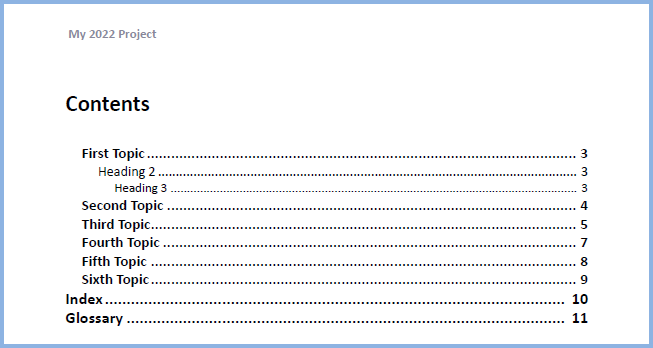
Readjust Selected - Add or Replace Not SelectedHere the hierarchy of the TOC has been respected. Fourth Topic was attached to Section Two in the TOC so it appears as a Heading 1 style while the other topics appear as Heading 2 style.
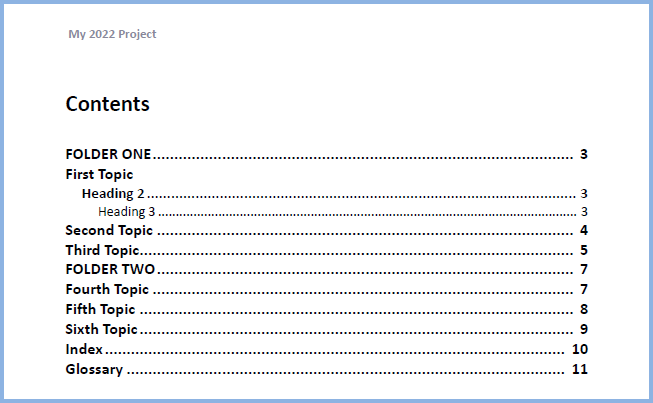
Readjust Not Selected - Add or Replace SelectedThe missing Section One has now been added and Section Two has replaced Fourth Topic.
Both SelectedWith both options selected the details shown will be as above but the topics will be indented.
|
|
Add or replace heading from the source TOC to maintain the hierarchy |
Page Layouts
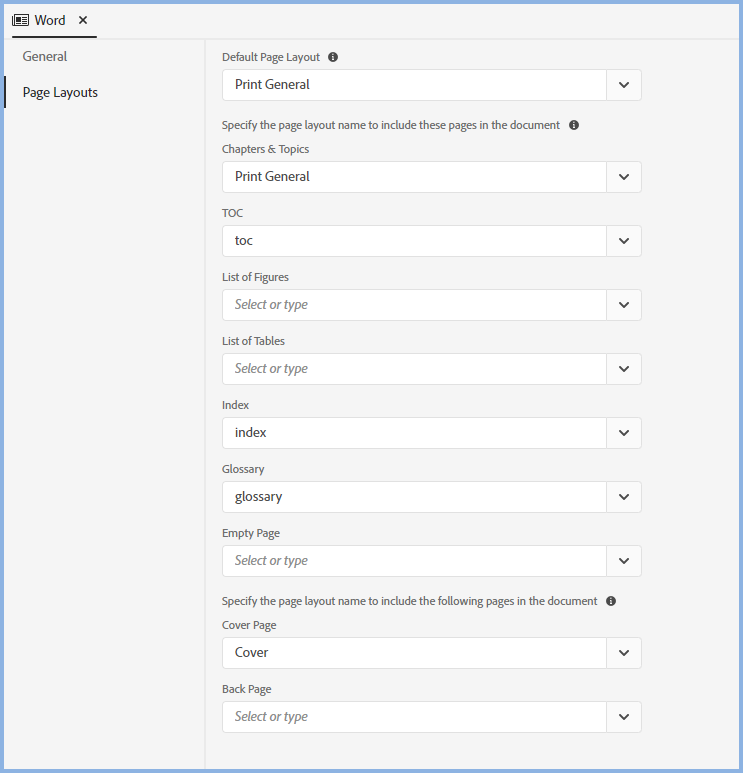
Here you select the page layouts you want applied to the various sections of your document.
Page Styles
You can also type in a Page Style. That is intended for advanced users who may need to create a CSS style to achieve advanced results not possible with the supplied page layouts. The name of such styles can be typed in here. Make sure it is character and case perfect.
To create Page Styles, open your CSS in the CSS editor, click the Page Styles group and click the + icon to define the style.
Page Styles can also be applied to topics. See Working on Topics.
Donations
If you find the information and tutorials on my site save you time figuring it out for yourself and help improve what you produce, please consider making a small donation.